Choose your sneaker size by measuring both feet, matching the longer measurement to the correct brand chart, and checking the actual pair for toe room, width, pressure over the foot and heel hold. A size number gets you to the fitting room. Walking in both shoes tells you whether that particular shape works.
That distinction matters when a favorite colorway is almost right: comfortable at the toes but loose at the heel, or the correct length with a tight squeeze across the front. Before buying another size, identify what needs to change. This guide covers everyday adult sneakers; sport-specific footwear and children’s fitting need their own checks.
Start with four separate fit questions
- Length: do your toes have room in front, including when you take a step?
- Width and toe shape: can the front of your foot sit naturally without your toes being pushed together?
- Volume: is there enough room above the toes and instep, the top of your foot beneath the laces?
- Heel hold: does the back of the shoe stay with your foot without aggressive tightening?
Keep those questions separate. More length does not necessarily solve pressure from a tapered toe box. Tightening the laces does not remove empty space at the front. A sneaker can be long enough and still be the wrong shape for you.
1. Measure before using a size chart
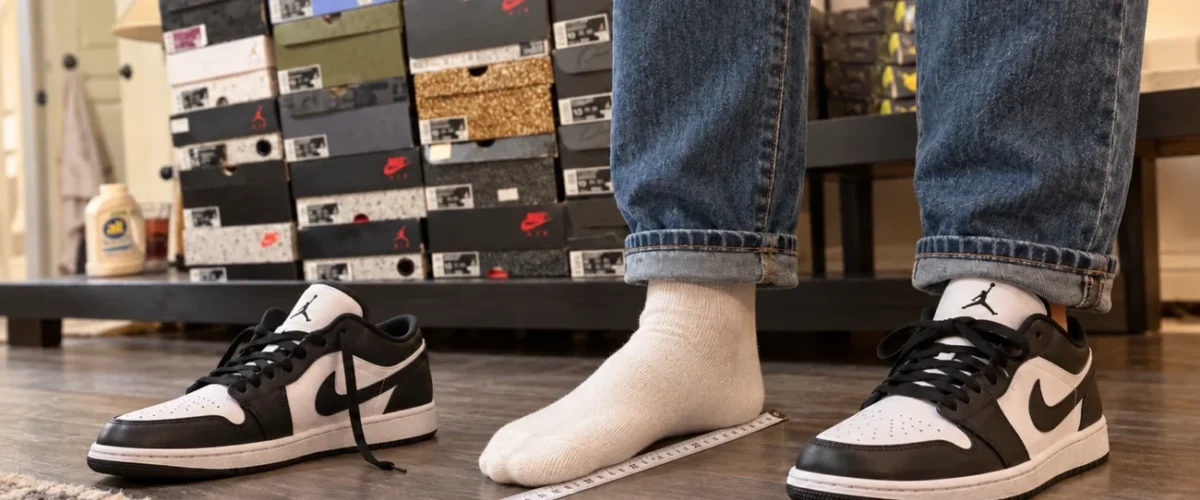
Use paper, a ruler and a pencil on a hard, level surface. Record both feet rather than relying on a size remembered from years ago. Nike recommends measuring later in the day and wearing the socks intended for the shoes in its foot-measurement guide.
- Secure the paper so it cannot slide. Stand naturally with your weight distributed evenly.
- Have someone mark the back of your heel and the end of your longest toe, holding the pencil upright.
- Measure the straight distance between those points. Write down the unit, ideally centimeters or millimeters.
- Repeat for the other foot and measure again if a mark looks unclear.
- Use the longer foot when choosing a starting size, then check that both feet fit the shoes.
Follow the method attached to the chart you are using. The ASICS measurement instructions, for example, explicitly identify the longest toe. A neatly drawn outline is useful, but it does not reveal how much space a particular upper provides above your foot.
You can also note the widest part of your forefoot. Treat that as useful information for a fitting or a brand’s width chart, rather than declaring every foot over a fixed number of centimeters “wide.” Width needs context, including foot length and the manufacturer’s sizing system.
2. Read the chart’s labels, not just its numbers
Open the chart from the product page and check the country, adult category and sizing scale. US men’s, US women’s, UK and EU labels are different columns. A “9” without a label is incomplete information.
There is another easy trap: a centimeter label may be a size designation rather than a measurement of your foot. Nike’s US footwear chart specifically distinguishes the CM value on the box from its Foot Length row. Look for the actual foot-length heading instead of matching a measurement to any number followed by CM.
For a hypothetical 26.4 cm foot, start with 26.4 cm in the appropriate foot-length row. Do not automatically add a centimeter, convert that result to another brand’s size, then subtract half a size because someone called the model roomy. Those stacked adjustments can cancel each other or compound the error.
If your measurement falls between entries, follow that chart’s instructions and try the nearby options when possible. Nike’s chart recommends the larger size between its entries. That is guidance for that chart, not a universal rule for every brand or every model.
Women’s, men’s and unisex listings
Check which scale the size selector actually displays. A unisex product can show paired men’s and women’s numbers, while a retailer may show only one of them. Do not assume a conversion remembered from one brand applies to another.
The same caution applies to youth sizes that overlap adult numbers. A numerical conversion is not proof that a youth and adult shoe have identical construction, proportions or interior space. Buy the version you have assessed, not just the cheapest listing with a familiar-looking number.
3. Check the exact model and product code
A brand chart is a starting point. The product’s own fit note may add information about a particular style. Keep the model name, product code, materials and country storefront together when reading it.
“True to size,” often shortened to TTS, is useful shorthand, but it cannot describe every foot. Our explanation of TTS in sneakers covers the term. In practice, ask what reference size the writer used and whether their foot shape resembles yours.
Be careful with customer-review summaries, too. A fit slider combines different experiences and may group multiple colorways. It is not a measurement of the inside of your exact pair. Read the official fit note, use reviews to spot questions worth checking, and let the try-on settle those questions.
4. Try both shoes in a repeatable way
Keep the shoes clean while checking the seller’s return conditions. Loosen the laces enough to place your foot properly, settle your heel into the back, then fasten them with comfortable, even tension. Use the socks you actually plan to wear.
Stand, walk, turn and stop on a clean indoor surface. Compare both feet. A single seated toe press misses what happens when you move, and one comfortable shoe does not clear the whole pair.
Toe room: space in front and above
Your longest toe should not be jammed into the front. Check that the toes can move without scraping the upper. For walking shoes, adidas uses roughly a thumb’s width as a starting reference in its fit guidance. That is a practical estimate, not a laboratory tolerance for every lifestyle silhouette.
A decorative pointed front may extend beyond the usable space. Conversely, a roomy-looking exterior can hide a shallow interior. Judge where your toes actually sit rather than how long the shoe looks in a mirror.
Width and volume: locate the pressure
Pressure along the sides suggests a different question from pressure under the laces. Note the exact spot: little toe, big-toe joint, top of the toes or instep. That makes a comparison between sizes much more informative than “this feels small.”
Where offered, compare a wider width at an appropriate length. New Balance’s fit FAQ points shoppers experiencing side or top pressure toward considering a wider option. Width availability depends on the actual model and market.
Heel hold: walk before deciding
Watch whether the heel repeatedly lifts away from the shoe or the whole foot slides forward. First reset the heel and lace the shoe normally. If acceptable hold requires painfully tight laces, treat that as a failed fit rather than a successful lacing trick.
Do not immediately size down when the heel moves. Check the toes first. A shorter pair that pins the toes trades one problem for another; another shape may be the better solution.
What to change when the fit is wrong
- Toes hit the front and the shoe feels short: compare a larger size, then repeat the heel and width checks.
- Length seems adequate but the sides squeeze: compare a wider option or a less restrictive shape. If you try a larger size, reject it if it introduces excessive length or sliding.
- Pressure is mainly beneath the laces: loosen that area and retry. Persistent pressure with otherwise sensible lacing is a reason to compare a different upper shape or volume.
- The heel slips and there is excess space throughout: compare a smaller size, provided it still leaves the toes comfortable.
- One size pinches and the next slides: stop treating the model as mandatory. A different last, the shape around which the shoe is built, may suit you better.
These are comparison steps, not a diagnosis. Stop a try-on that causes pain, numbness or skin irritation. Persistent symptoms deserve advice from a qualified healthcare professional rather than repeated experiments with smaller shoes.
Laces, socks and insoles have limits
Small lacing adjustments can help you judge a pair honestly. Changing several things at once makes the result harder to interpret. Start with the supplied insole and your usual socks; change one variable, walk again, and keep the change only if every fit check still works.
Do not buy a significantly oversized pair intending to fill it with stacked insoles, or remove the insole from a tight shoe simply to create emergency space. Both alter the setup you are assessing. If you already use a professionally prescribed insert, bring it to the fitting and follow the instructions you were given.
Likewise, “it will break in” should not rescue a failed fit. A change in how an upper feels does not guarantee the needed length, toe shape or heel hold. Heat, soaking and forced stretching can also compromise the pair and its return eligibility.
Applying the process to Air Jordan 1
Start with the exact name: Low, Retro Low OG, Mid or Retro High OG. Then confirm the adult sizing category and product code. Nike lists real and synthetic leather for the Mid 554724-061, while the High OG DZ5485-003 lists leather. Those details help identify the pair; they do not establish a size offset between cuts.
For a Mid or High, loosen the upper lacing before judging whether the shoe is too small. Re-lace it as you intend to wear it and evaluate the foot space separately from the collar. For a Low, pay particular attention to heel retention while walking. Do not assume an OG suffix guarantees a roomier or narrower fit.
If you are choosing between silhouettes rather than troubleshooting a purchased pair, our Dunk Low versus Air Jordan 1 Low comparison deals with the product differences. The fitting decision still belongs to the exact pair on your feet.
Use model guides only after the basic checks
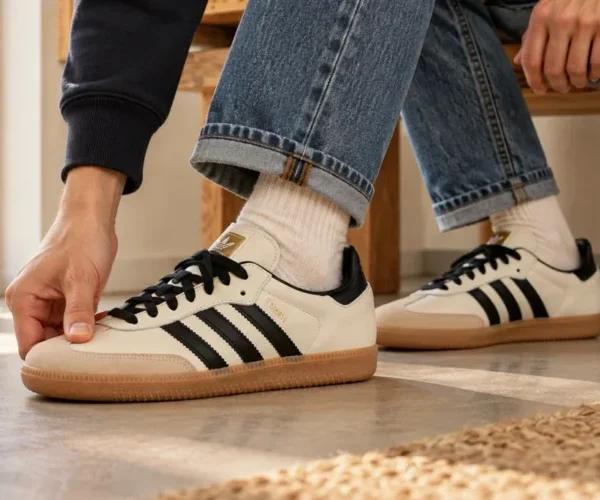
The Samba sizing guide explains why a narrow-feeling forefoot and a size-down message can coexist. Our Air Force 1 versus Dunk Low and Chuck Taylor All Star versus Chuck 70 comparisons help narrow your shortlist without turning one model’s size advice into a rule for a whole brand.
Before you keep the pair
- Correct product code, country scale and adult category checked
- Both feet tried with the intended socks and normal lacing
- Toes free from front, side and top pressure
- No repeated sliding that needs forceful tightening to control
- Comfort maintained while walking and turning
- Return deadline and condition requirements understood
Write down the model, product code, labeled size and what worked. “US men’s 9 in this exact version, with medium socks” is more useful for a future purchase than “I am always a 9.” For the rest of the buying decision, return to our sneaker buying guide.
Quick questions
Should sneakers feel tight when new?
They can feel secure without squeezing. Do not accept curled toes, focal pressure or a heel that only stays put when the laces hurt.
Can I use the insole length as my foot length?
No. An insole is a shoe component, and its outline does not describe all usable interior space. Compare your measured foot with the maker’s foot-length instructions.
Is half a size up always safer?
No. It can help when a pair is genuinely short, but can create slipping when the issue is width, volume or shape. Repeat the complete check after every size change.